Achieving a perfectly smooth, bubble-free finish with transparent sealant is one of the most frequently discussed challenges in glazing, construction, and interior finishing work. Whether you are sealing glass panels, bathroom fixtures, window frames, or decorative surfaces, the presence of air bubbles in the cured bead can undermine both the aesthetic appeal and the waterproof integrity of the joint. Professionals and skilled DIY users alike have encountered this frustrating outcome, yet the root causes are rarely mysterious — they are almost always linked to avoidable technique errors or material mismanagement.
Understanding which techniques genuinely prevent bubbles requires looking at the entire workflow — from how the cartridge is prepared and stored, to how the nozzle is cut, how the gun is operated, and how the bead is tooled and cured. A high-quality transparent sealant that is correctly applied in controlled conditions will deliver a crystal-clear, void-free seal every time. This guide breaks down those essential techniques, explains why each step matters, and helps you make confident decisions on every application.
Understanding Why Bubbles Form in Transparent Sealant
The Role of Air Entrapment During Extrusion
Bubbles in a cured transparent sealant bead most commonly originate during the extrusion phase. When the sealant is pushed through the nozzle at an inconsistent speed or with interrupted pressure, pockets of air get trapped inside the material stream. These micro-gaps may not be visible during application, but as the sealant begins to cure and the solvent or moisture-reactive chemistry takes effect, those voids expand and become visible defects in the finished joint.
The geometry of the nozzle cut also plays a critical role. A poorly angled or unevenly cut nozzle creates turbulence in the flow, causing the sealant to fold over itself rather than flowing in a smooth, continuous ribbon. This folding traps air mechanically. A clean 45-degree cut that matches the width of the intended bead eliminates that turbulence and allows the transparent sealant to deposit uniformly against the substrate surface.
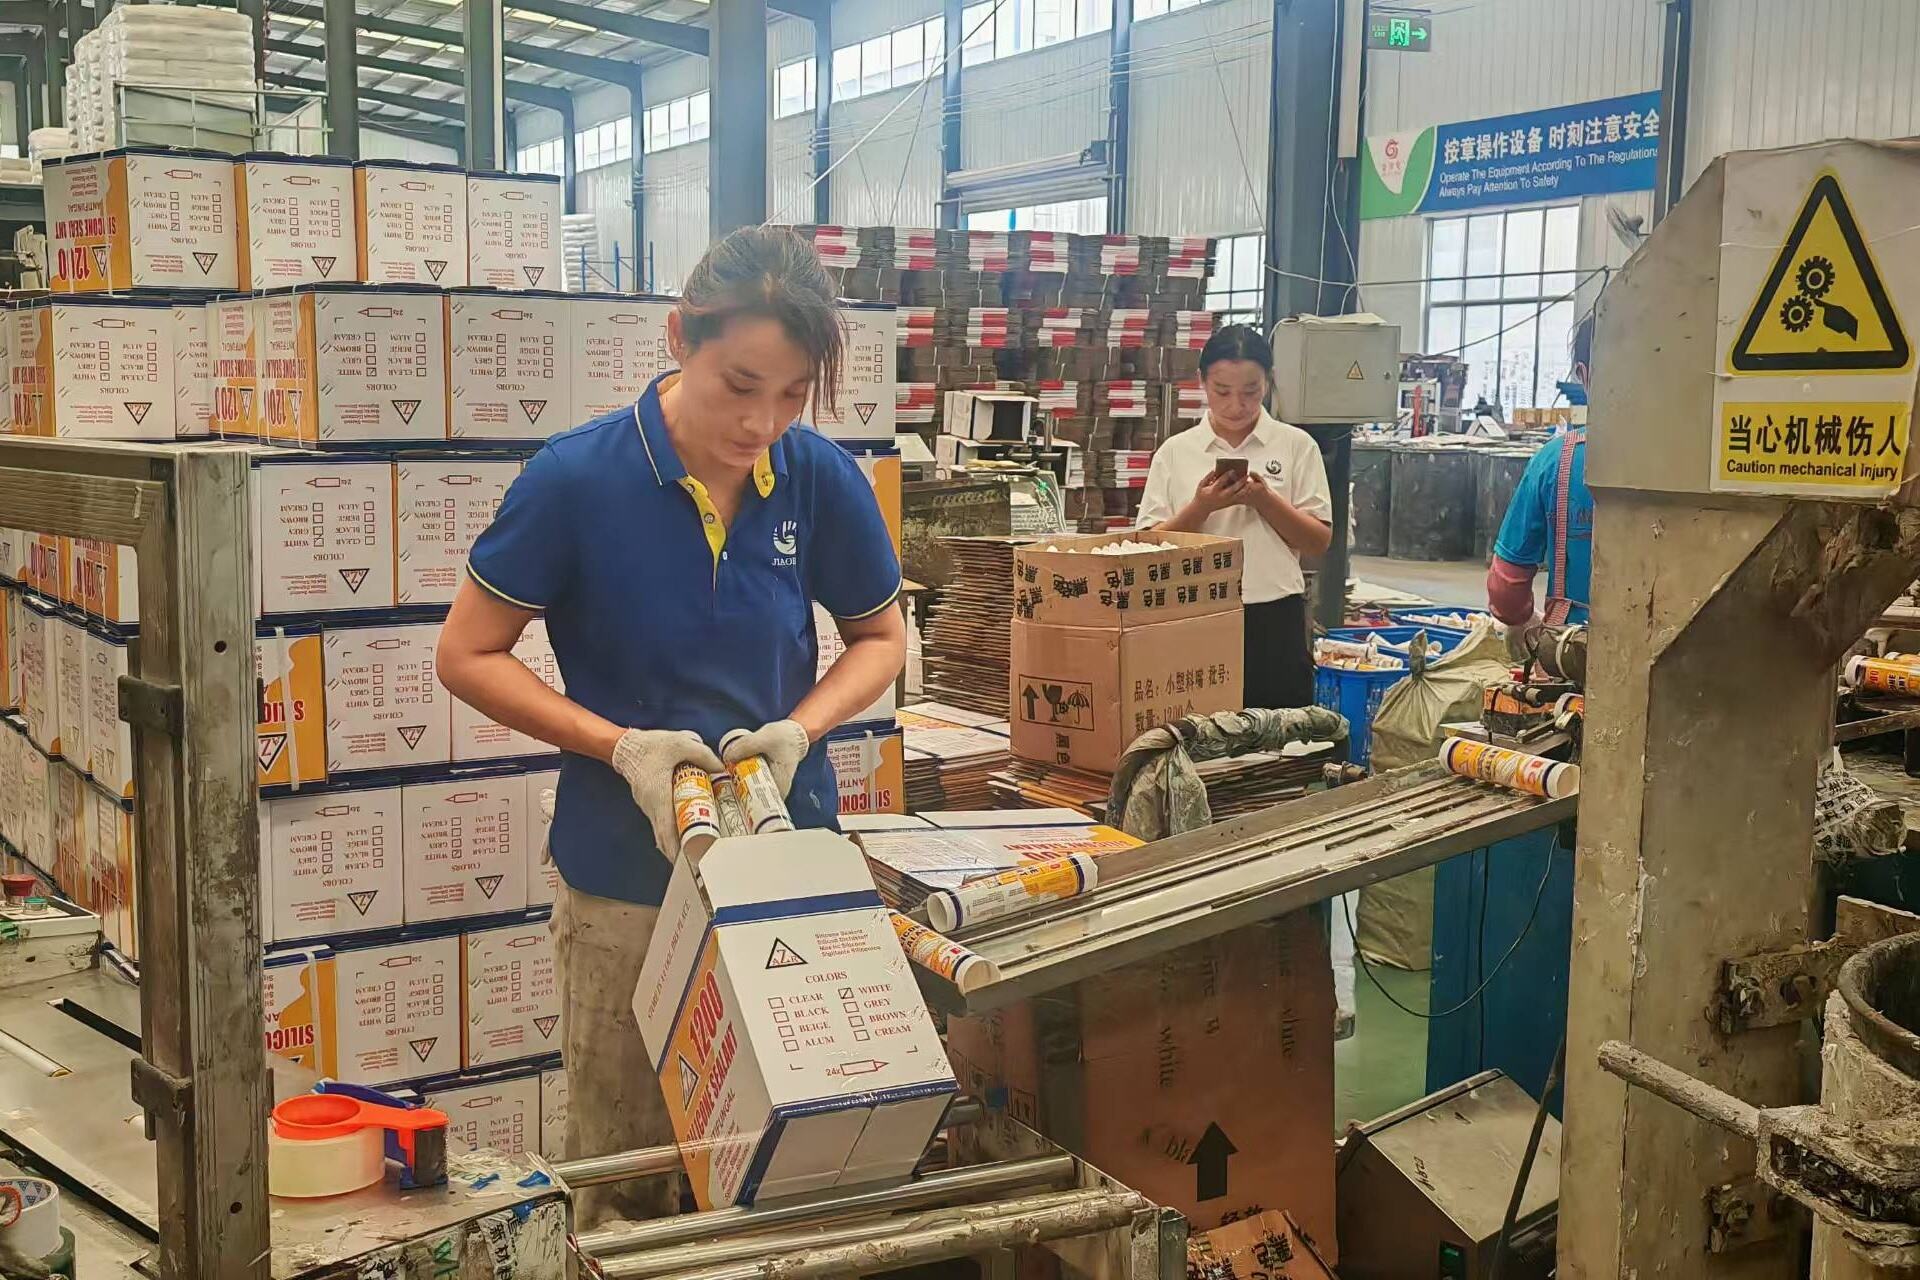
Cartridge age and storage conditions are often overlooked contributors. A cartridge that has been partially used and improperly sealed can develop a skin or hardened plug at the nozzle tip. When that plug is pushed through, it creates a slug of semi-cured material that moves unevenly through the fresh sealant, generating bubbles behind it. Always purge a small amount of transparent sealant from the nozzle before beginning any bead on the actual joint.
Environmental and Substrate-Related Causes
Surface temperature and moisture content are two environmental variables that directly influence bubble formation in transparent sealant applications. Applying sealant onto a cold substrate, particularly glass or glazed ceramic, can cause condensation moisture to become trapped at the interface. As the sealant cures, that moisture interacts with the chemistry of an acetic-cure or neutral-cure silicone and produces small gas pockets that manifest as bubbles or voids.
Substrate porosity is another concern. Porous materials such as unprimed concrete, natural stone, or rough timber can off-gas moisture or air when the transparent sealant is pressed against them. The sealant bridges the surface pores without fully penetrating them, and the trapped air slowly migrates into the bead during the open time. Priming or pre-sealing porous substrates with an appropriate primer ensures that those micro-channels are closed before the sealant is applied.
Humidity levels in the workspace also matter for moisture-cure silicone products. While a moderate level of ambient humidity accelerates cure, excessively humid conditions can trigger premature surface skinning. When the surface of the transparent sealant skins over before tooling is complete, any subsequent manipulation traps air beneath that skin layer. Maintaining a controlled workspace humidity level between 40% and 70% relative humidity is generally considered ideal for most silicone sealant products.
Preparation Techniques That Prevent Bubble Formation
Correct Cartridge and Nozzle Preparation
Proper cartridge preparation begins before the caulking gun is even loaded. Always inspect the cartridge for any visible swelling, deformation, or signs of pre-cure, which indicate that the product has been stored incorrectly or is nearing the end of its shelf life. A cartridge in good condition will have a firm but flexible body, and the nozzle seal will be intact. Cutting the internal seal cleanly and pushing the rod forward to eliminate the dead air space inside the barrel is a critical first step.
The nozzle cut angle and diameter must be matched carefully to the joint width. For most standard glazing and sanitary applications, a 45-degree cut at a diameter slightly smaller than the joint width ensures proper contact pressure on both sides of the joint. When the transparent sealant bead makes full contact with both surfaces as it is laid, there is no space for air pockets to form at the interface. An oversized nozzle opening allows the sealant to flow too freely, reducing the contact pressure and increasing the likelihood of voids.
Always purge the nozzle before beginning your working bead. Apply a short test bead onto scrap material or paper to verify that the flow is smooth and continuous, with no air gaps or spluttering. This purging step removes any partially cured plug, expels trapped air from the barrel, and helps you calibrate the speed of gun movement needed to lay a consistent bead of transparent sealant at the desired width.
Surface Preparation for Void-Free Adhesion
Clean, dry, and stable substrate surfaces are non-negotiable for bubble-free transparent sealant application. Residual dust, oils, release agents, silicone contamination, or cleaning solvent residue on the substrate surface physically prevents the sealant from making full molecular contact with the substrate. These contamination layers act as air barriers, and any micro-gap between the sealant and the surface becomes a potential void.
Cleaning should always be done with a lint-free cloth and an appropriate solvent. Isopropyl alcohol is widely used for glass, metal, and ceramic surfaces because it evaporates quickly without leaving residue. Allow the solvent to fully flash off before applying the transparent sealant — applying sealant over a still-wet solvent surface traps solvent vapors beneath the bead, which can create bubbles during curing. A minimum wait time of two to three minutes after cleaning is advisable.
For joints that require backer rod installation, ensure that the closed-cell backer rod is fully seated and consistent in depth before laying the sealant. An uneven backer rod creates variations in sealant depth, and deeper sections may not receive adequate tooling pressure during finishing. This lack of pressure allows air to remain in the deeper part of the transparent sealant bead, creating an internal void that is invisible on the surface but compromises waterproof performance.
Application Techniques That Guarantee a Bubble-Free Bead
Gun Technique and Movement Speed Control
The single most controllable variable in producing a bubble-free transparent sealant bead is the speed and angle at which you move the caulking gun along the joint. Moving too quickly means the sealant is stretched thin, and the nozzle may pull away from the substrate surface, allowing air to enter the bead from the sides. Moving too slowly causes the sealant to pile up, fold over itself, and trap air at the leading edge of the bead.
Maintain a consistent, unhurried pace — roughly similar to drawing a line with a marker pen. The nozzle should remain in contact with or very close to the substrate, and the angle should keep the nozzle slightly behind the direction of travel. This pushing motion — where the sealant is pushed into the joint rather than dragged — ensures that the transparent sealant fills the joint completely before the nozzle passes over it, eliminating the chance of unfilled pockets forming behind the bead.
Maintain steady trigger pressure throughout the bead. Releasing pressure and then reapplying it creates a pulsing flow that deposits more sealant in some sections and less in others. The denser sections and thinner sections meet at transition points where air entrapment is very likely. For long joints, practice your trigger control on scrap material until you can maintain a completely even flow from start to finish with your chosen transparent sealant product.
Tooling and Finishing the Bead Without Trapping Air
Tooling — the process of pressing and shaping the freshly laid bead — is the stage where most remaining air bubbles are either eliminated or permanently sealed into the joint. The tool must be applied firmly enough to press the sealant against both substrate surfaces simultaneously, displacing any air at the interface and consolidating the mass of transparent sealant into a dense, void-free profile.
Use a dedicated silicone tooling instrument or a wetted finger, and maintain consistent contact pressure throughout the stroke. Work in a single, smooth, uninterrupted pass. Repeated back-and-forth tooling on the same section of joint introduces air rather than removing it — every pass that reverses direction essentially reopens the bead and creates an opportunity for air to re-enter. For longer joints, work in manageable sections, completing the tooling on each section before the transparent sealant begins to skin.
Tooling solution — a diluted surfactant in water — reduces friction between the tool and the sealant surface, allowing the tool to glide smoothly without dragging or tearing the bead. However, avoid using excessive tooling solution, as it can dilute the surface chemistry of the sealant and affect adhesion on the substrate edges. A light misting or a damp tool is sufficient to achieve clean, smooth tooling on any transparent sealant bead.
Post-Application Practices That Support Bubble-Free Curing
Protecting the Bead During Open Time
Once the transparent sealant bead has been tooled and shaped, its vulnerability to bubble formation is not entirely over. During the open time — the period before the skin fully forms — any disturbance to the bead surface can create surface voids or dimples. Airflow from open windows, fans, or HVAC vents directed at the fresh bead can cause uneven surface drying, and any subsequent touch to repair a dimple will introduce a fresh bubble.
Keep the work area calm and draft-free for at least 30 minutes after application. If the job site cannot be isolated from airflow, use temporary masking tape or a protective cover to shield the joint until the sealant has formed a continuous skin. The skin-over time varies by product formulation, ambient temperature, and humidity, but a general guideline for most acetic silicone formulations is 10 to 20 minutes in standard indoor conditions when working with a quality transparent sealant.
Avoid applying transparent sealant in extreme temperature conditions. Very cold temperatures slow down moisture absorption and extend the cure time, increasing the window during which the fresh bead can be disturbed or contaminated. Very high temperatures accelerate surface skinning but may leave the core of a thick bead uncured for an extended period, creating a condition where internal gas pressure from the cure reaction forms bubbles in the still-soft interior.
Inspecting and Remedying Minor Defects Before Full Cure
Shortly after tooling and before the transparent sealant has reached a full skin, carefully inspect the entire bead under a raking light or a portable lamp held at a low angle. This lighting technique reveals micro-voids, surface dimples, or areas of poor contact that would be invisible under normal overhead illumination. Identifying these defects early allows you to make corrections while the material is still workable.
A small void that appears as a shallow depression can often be filled by applying a tiny additional amount of transparent sealant from the nozzle and smoothing it flush with a wetted tool in a single stroke. Attempting to press a fully skinned void closed will only spread the defect or create new ones. Timing is everything — have your inspection light ready before you begin tooling so that your review immediately follows each section of finished bead.
For applications where the finished appearance is critical — such as point-fixed glass, frameless shower enclosures, or display cabinet glazing — consider running a second light pass inspection after the initial 24-hour cure period. At this stage, the transparent sealant is firm enough to show any subsurface voids that were not visible initially. If any significant voids are found, the defective section should be fully removed and re-applied rather than patched over.
Selecting the Right Transparent Sealant for Bubble-Resistant Performance
Formulation Characteristics That Reduce Bubble Risk
Not all silicone products carry the same risk of bubble formation. The rheological characteristics of the transparent sealant — meaning its viscosity, thixotropy, and flow recovery — directly affect how it behaves during application and tooling. A well-formulated product will have a smooth, non-sag consistency that flows evenly under extrusion pressure but holds its shape after tooling without slumping or stretching.
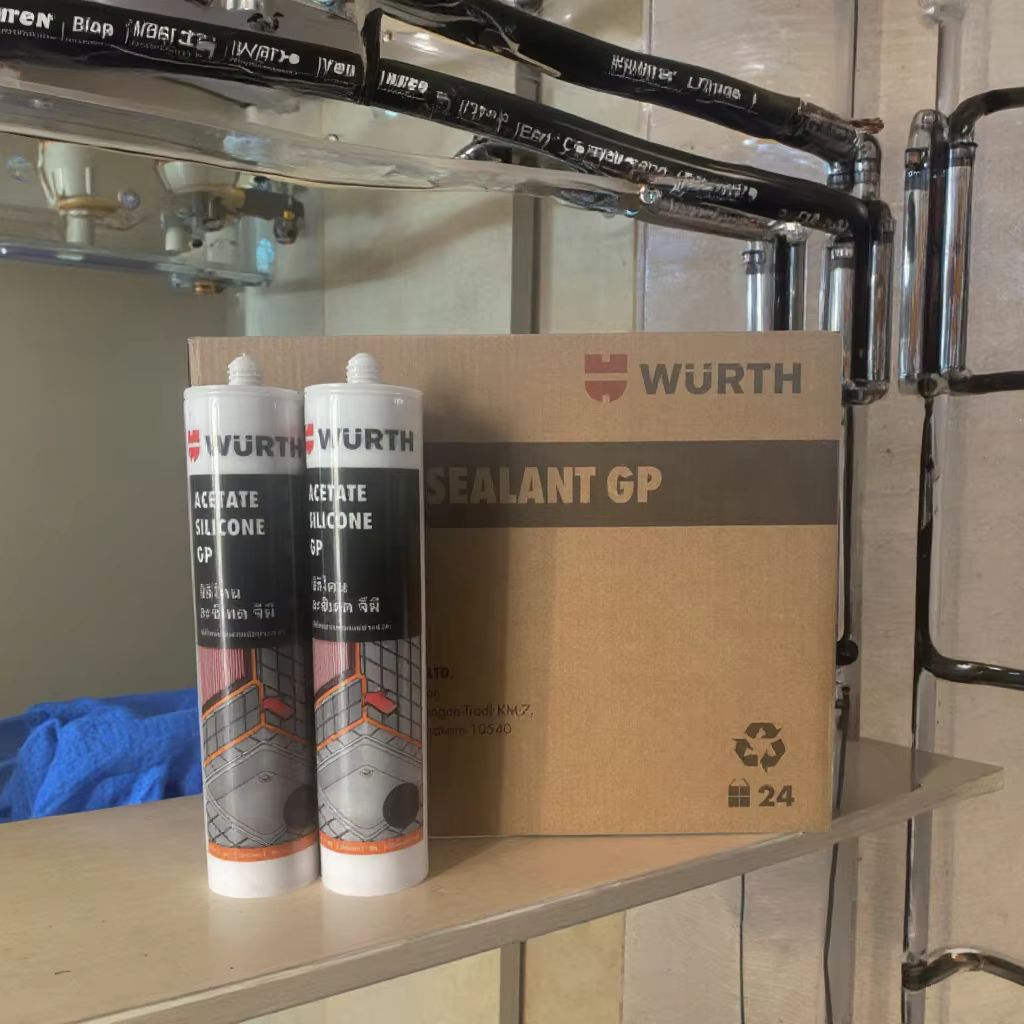
Acetic-cure silicone formulations are widely used for glass-to-glass and glass-to-metal applications. They release acetic acid during curing, which provides excellent adhesion to non-porous surfaces and produces a dense, clear bead when correctly applied. The curing mechanism is moisture-driven, so maintaining appropriate ambient humidity ensures even, complete crosslinking throughout the bead profile and minimizes the internal gas pressure that can generate bubbles in a transparent sealant bead.
Neutral-cure silicone formulations release oxime or alcohol byproducts and are preferred for sensitive surfaces such as coated glass, anodized aluminum, or natural stone where acetic acid could cause staining or corrosion. Neutral-cure products typically have a slightly slower surface skin time, which provides a more forgiving open time for tooling and inspection. Either formulation, when handled correctly, can deliver a completely bubble-free transparent sealant joint.
Packaging and Shelf Condition Verification
Even the best-formulated transparent sealant will produce bubbles if the cartridge has been stored incorrectly. Silicone sealants are sensitive to temperature extremes, moisture ingress, and UV exposure. Cartridges that have been stored in direct sunlight or subjected to freeze-thaw cycles may have partially cured material near the nozzle or stratification within the barrel, both of which contribute to inconsistent flow and bubble formation.
Before using any cartridge, check the batch code and compare it to the recommended shelf life stated on the product labeling. Verify that the cartridge body is undamaged and that the end cap is still properly sealed. When loading the cartridge into the gun, visually confirm that the plunger rod engages evenly with the end of the piston without canting or tilting. An off-axis plunger creates uneven pressure across the barrel, producing a pulsating flow of transparent sealant that increases air entrapment risk.
Store unused cartridges upright in a cool, dry environment, and always replace the original nozzle cap or use a purpose-made storage plug after partial use. Partially used cartridges that are stored for more than a few days without sealing the nozzle will develop a hard plug that, as discussed earlier, can generate significant bubble problems when the product is used again. Proper storage discipline is one of the simplest and most impactful techniques for ensuring consistent, bubble-free transparent sealant performance across every application.
FAQ
Why does my transparent sealant develop bubbles even after careful application?
The most common cause of bubbles after careful application is either a partially cured plug in the nozzle that was not purged before starting, or a substrate surface that was not fully clean and dry. Even a thin film of moisture or solvent residue on glass or metal can cause bubble formation in transparent sealant. Review your surface preparation and nozzle purging steps, as these two factors account for the majority of post-application bubble complaints.
How long should I wait after cleaning a surface before applying transparent sealant?
You should wait a minimum of two to three minutes after cleaning with isopropyl alcohol or an equivalent solvent before applying transparent sealant. This ensures complete solvent evaporation. In colder or more humid conditions, extend this waiting time to five minutes. Applying the sealant over still-wet solvent is one of the leading causes of trapped vapor bubbles in the finished bead.
Can I repair a bubbled section of transparent sealant after it has cured?
Patching over a cured transparent sealant bead that contains bubbles does not produce a reliable repair. The patch layer may adhere to the surface of the existing sealant but will not bond integrally with it, and the joint profile will be visually inconsistent. The recommended approach is to fully remove the defective section using a sealant remover tool, re-prepare the substrate surfaces, and apply a fresh bead of transparent sealant following correct technique.
Does tooling solution affect the clarity or adhesion of transparent sealant?
When used in moderate amounts, diluted tooling solution does not negatively affect the optical clarity or adhesion performance of transparent sealant. However, excessive amounts of tooling solution can dilute the contact layer at the sealant-substrate interface, slightly reducing bond strength at the edges. Use only a light mist or a lightly dampened tool, and avoid flooding the joint with tooling solution. The goal is friction reduction, not lubrication.
Table of Contents
- Understanding Why Bubbles Form in Transparent Sealant
- Preparation Techniques That Prevent Bubble Formation
- Application Techniques That Guarantee a Bubble-Free Bead
- Post-Application Practices That Support Bubble-Free Curing
- Selecting the Right Transparent Sealant for Bubble-Resistant Performance
-
FAQ
- Why does my transparent sealant develop bubbles even after careful application?
- How long should I wait after cleaning a surface before applying transparent sealant?
- Can I repair a bubbled section of transparent sealant after it has cured?
- Does tooling solution affect the clarity or adhesion of transparent sealant?